EagleCloud YunShu SASE Usage Guide
To ensure seamless and secure access to our internal systems — such as Kili, OMS, Cratos, OC, QuickBI and more — from anywhere outside the office network, we are rolling out EagleCloud YunShu across all company devices.
With YunShu, you can:
- Securely connect to internal resources no matter where you work
- Keep your device and company data protected by enterprise-grade endpoint security
- Stay productive on the go with a smarter, safer connection
Step 1: Download and Install
- Open the download page: Download EagleCloud YunShu Client
- Select the version that matches your operating system (Windows / macOS)

macOS users — Intel or Apple Silicon?
The Apple Silicon version does not work on Intel-based Macs. If you're unsure which type your Mac uses:
- Click the Apple menu (top-left corner) → About This Mac
- Check the Processor / Chip section — it will say "Intel" or "Apple M1/M2/..."
- Download the matching version. When in doubt, choose Intel to ensure compatibility.
Step 2: Log In with DingTalk
Launch the YunShu client
Enter
PalmPayas the organization name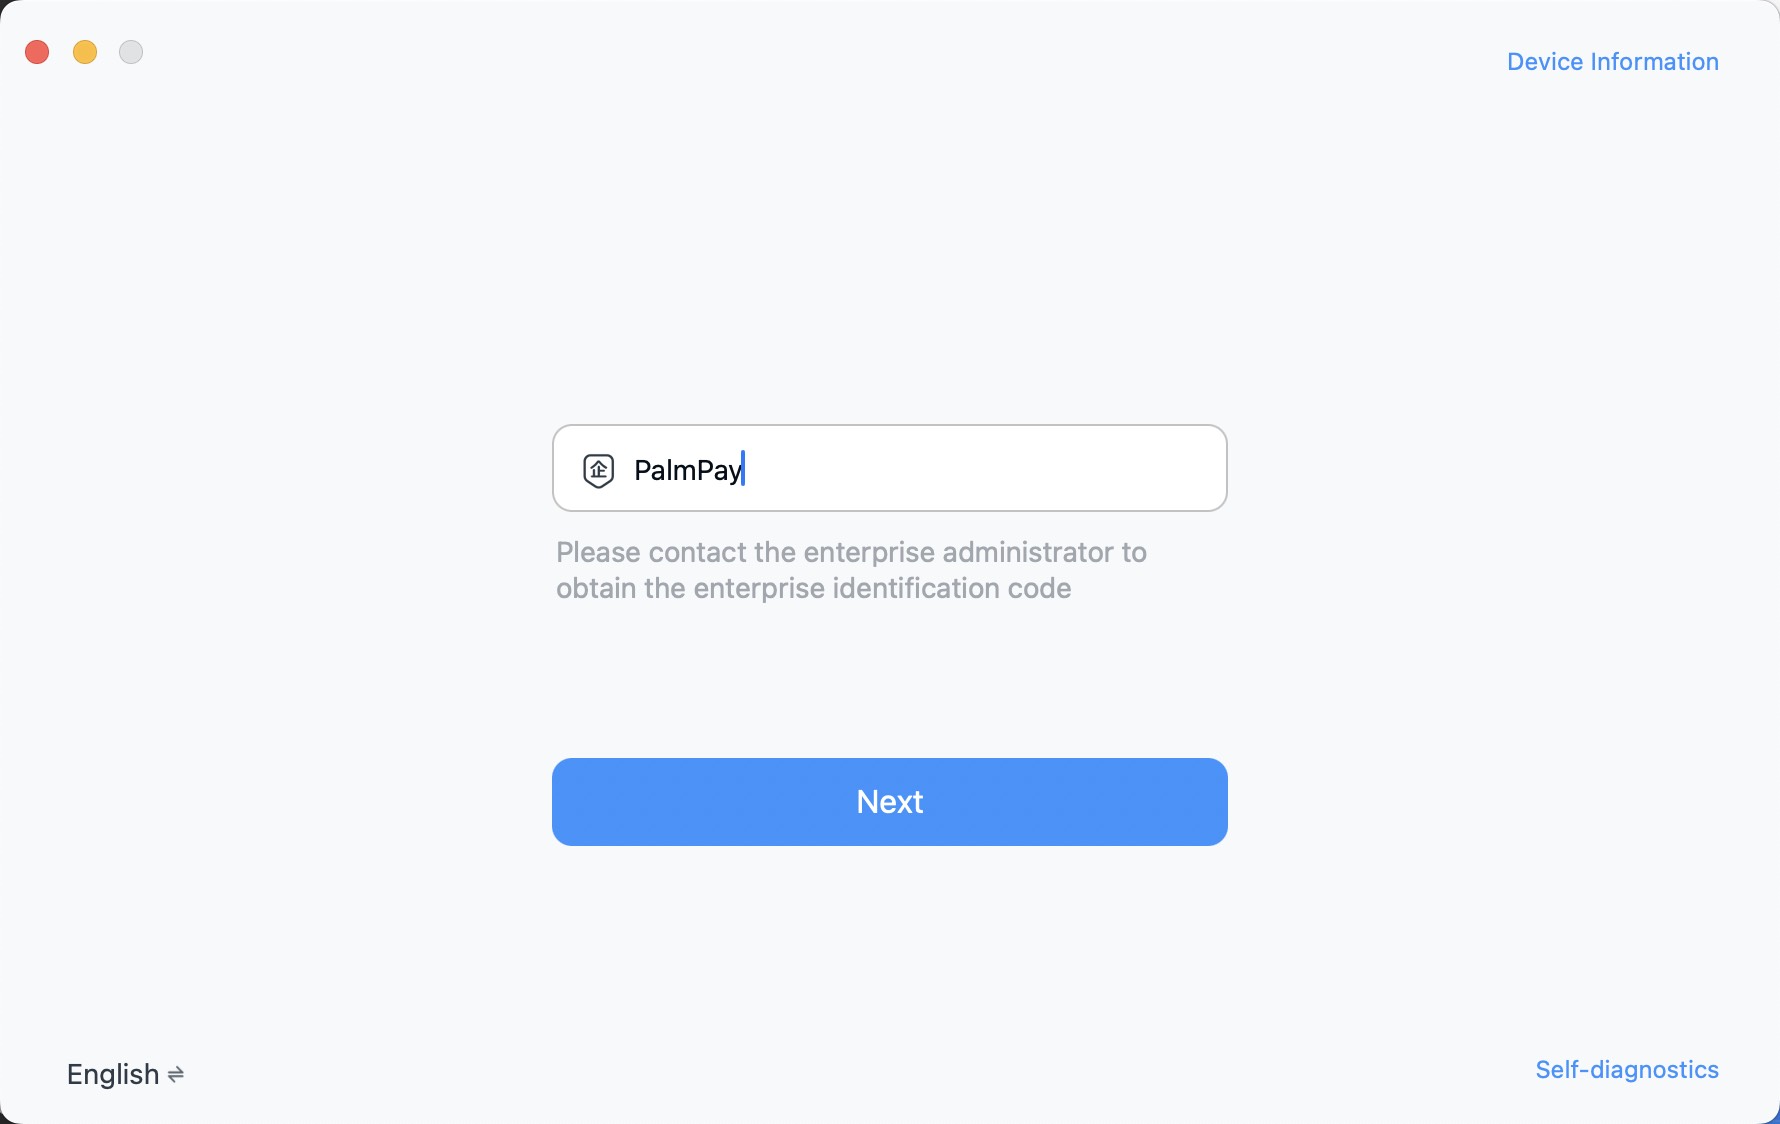
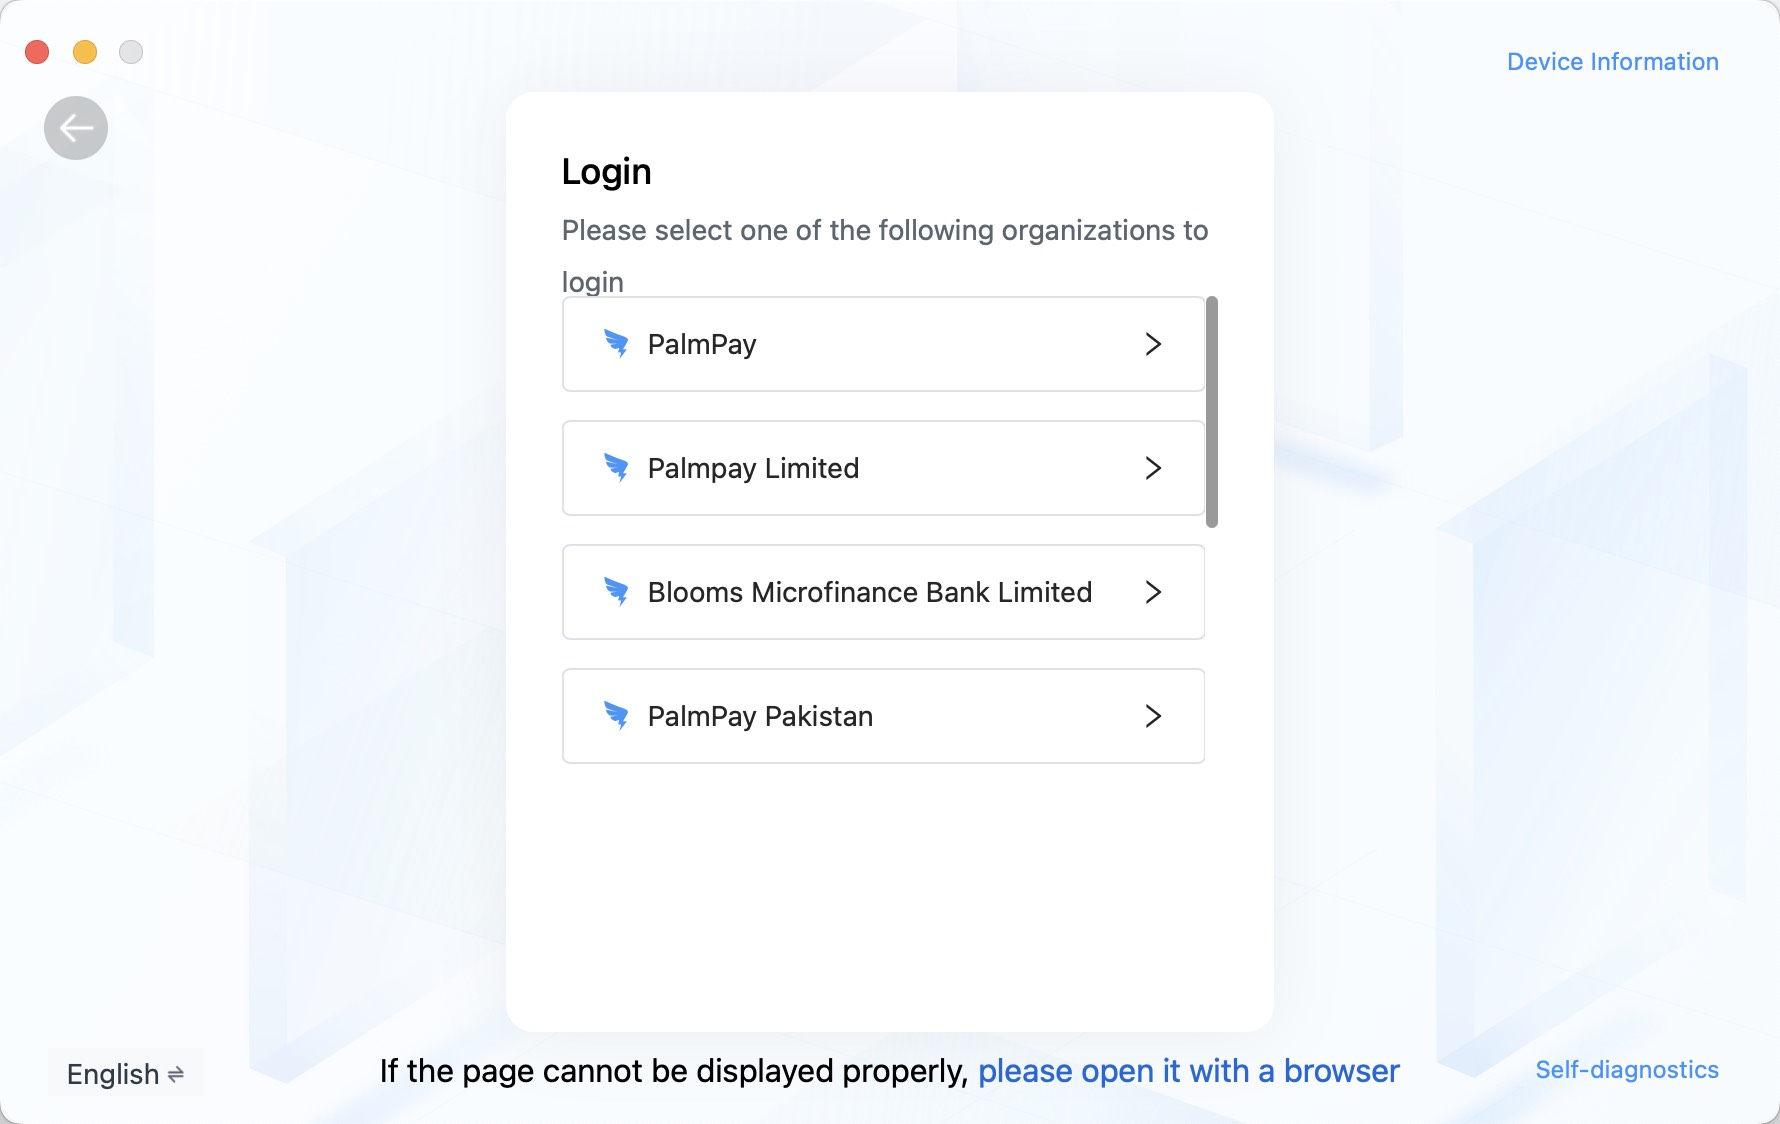
Select your DingTalk organization
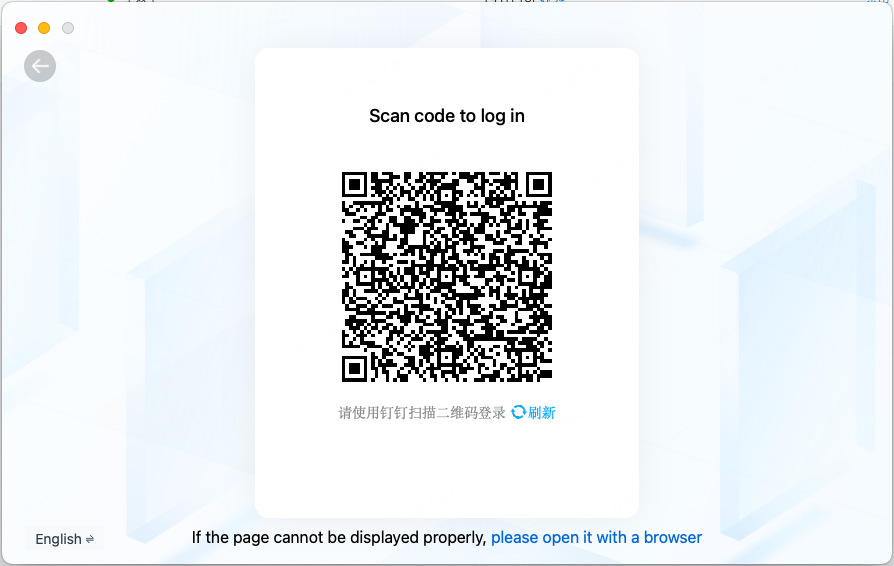
Scan the QR code with DingTalk to log in
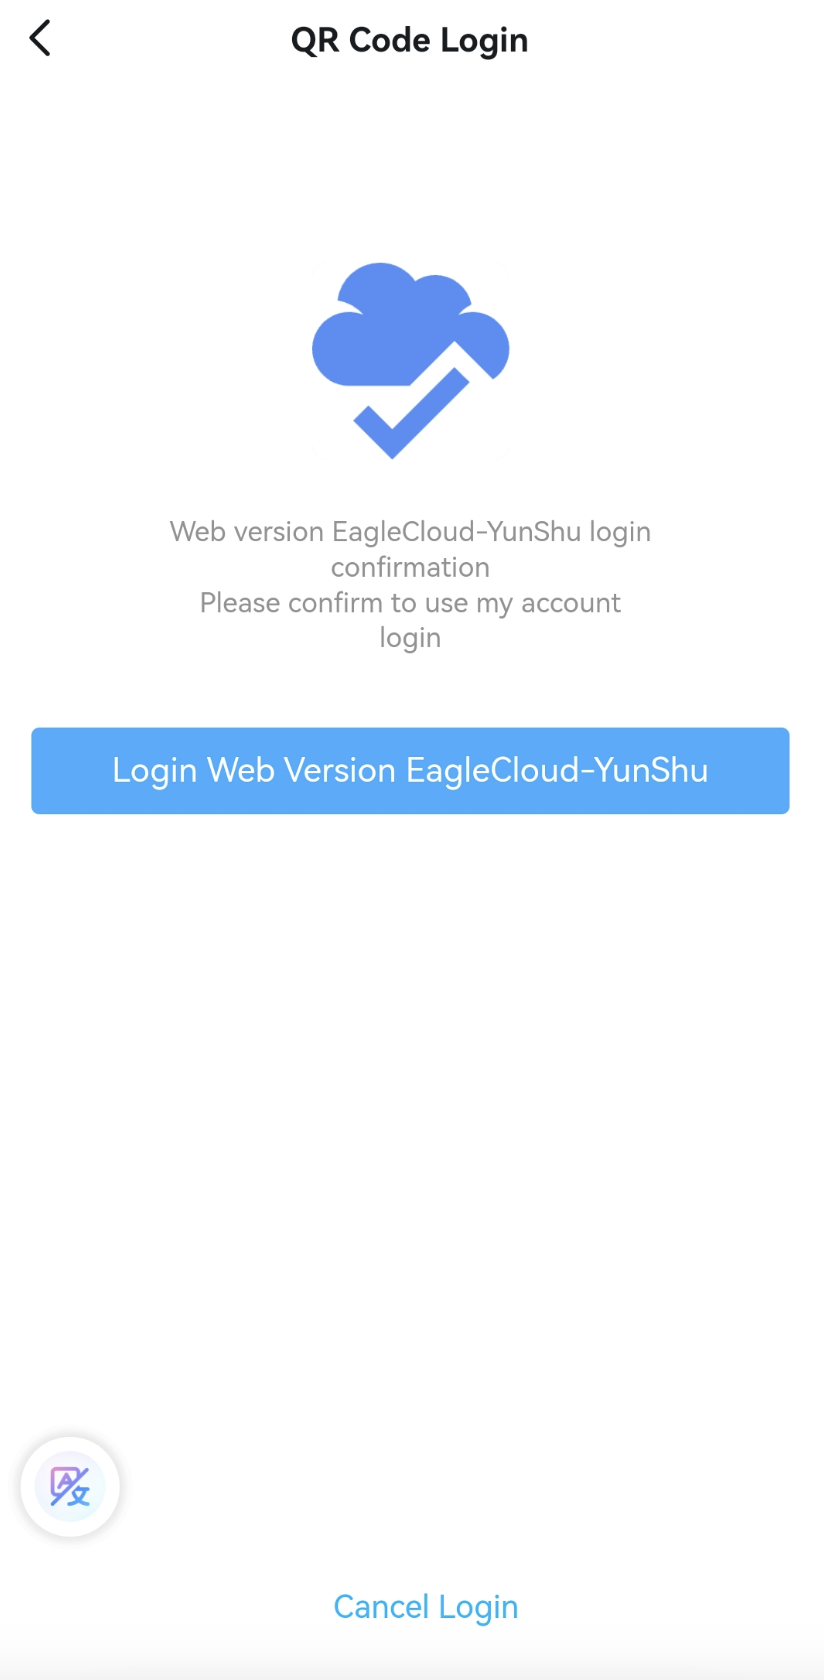
Click to confirm login on the web page
Login successful — you should see the YunShu home screen
Step 3: Grant Permissions (macOS Only)
Windows users can skip this step — permissions are enabled by default.
For macOS, you must enable the following permissions, otherwise virus detection and data security features will not work properly:
- Screen Recording
- Full Disk Access
Go to System Settings → Privacy & Security, and enable both permissions for YunShu:


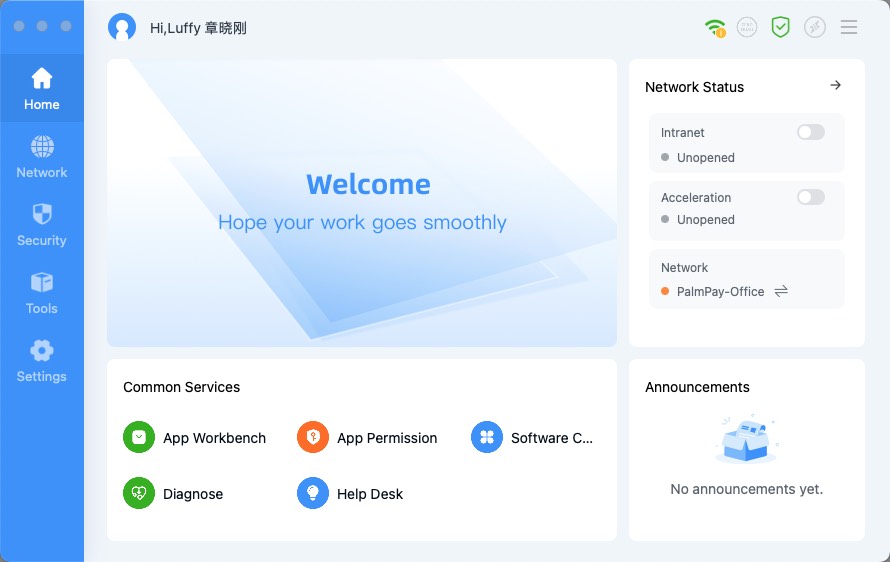
Step 4: Connect to Internal Network
- Open the YunShu client
- On the home page, go to Home → Intranet → Open, or Network → Intranet → Connect
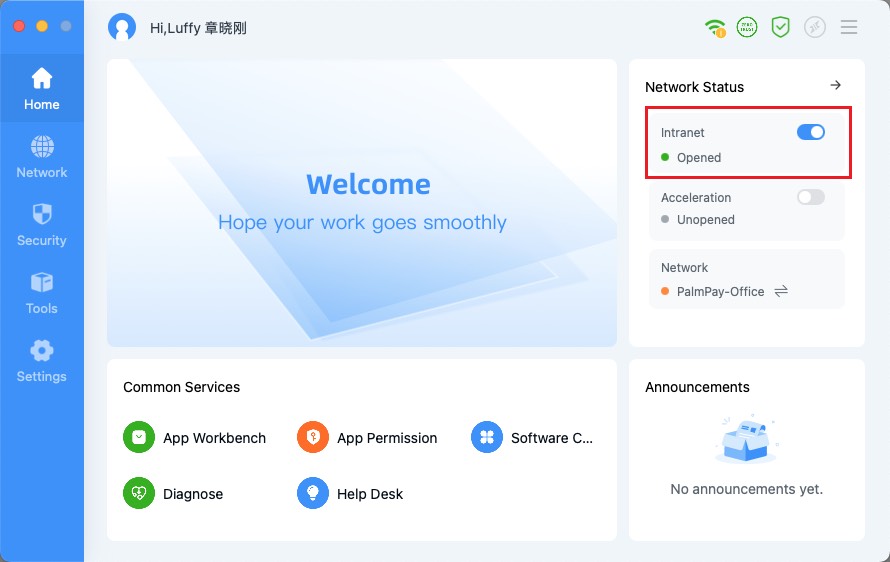
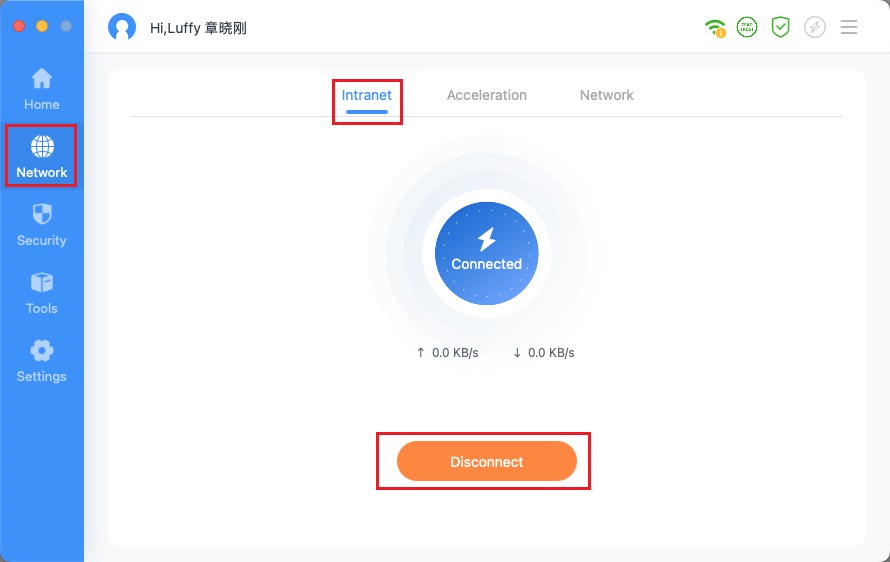

- Once connected, you can access all internal systems (Kili, OMS, Cratos, etc.)
🎉 Congratulations! You're all set.
FAQ
| Question | Answer |
|---|---|
| Which version should I download for Mac? | Check About This Mac → Processor/Chip. If unsure, choose Intel. |
| Do I need to keep YunShu running? | Yes, keep it running in the background to maintain access to internal systems. |
| What if I can't connect to the intranet? | Check that YunShu is logged in and the intranet toggle is enabled. Restart the client if needed. |
| Need more help? | Contact the IT Support team. |